
We took a sound level meter around the room and the problem turned out to be simple enough. Reverberation time was 1.4 seconds, direct sound pressure at the back row measured 8dB below the front, and with the low-frequency hum from the air conditioning the signal-to-noise ratio barely reached 10dB. The teacher's voice was not too quiet. It was smearing into the air.
We have seen this scene more times than we can count. Classroom acoustics is not mysterious; it is an engineering problem that can be measured. The six recommendations below come from on-site measurements we have taken in over a hundred classrooms, and they are written for the teachers and facility staff currently planning a retrofit or a new build.
1. Cut the Tail Off the Reverberation Time First
Reverberation time, RT60, is the headline figure in classroom acoustics. It is the time it takes for sound energy to decay by 60dB once the source stops, and it directly determines speech clarity. The Chinese national standard GB 50118-2010 sets a limit of 0.8 seconds for rooms under 200 m², but a virtual acoustic environment study at Tongji University reached a sharper conclusion: at a signal-to-noise ratio of 20dB or better, rooms of up to 200 m³ achieve their highest speech clarity scores when mid-frequency reverberation sits around 0.6 seconds.
Many older classrooms do not suffer from poor equipment so much as hard walls and shiny floors. Concrete walls with tiled floors push reverberation time past 1.5 seconds without much effort. When retrofitting, do not rush to lay carpet: our measurements show that an absorptive ceiling can cut RT30 by 50%, and the gain in Speech Transmission Index is far greater than what floor treatment delivers. Perforated acoustic panels backed with 50mm glass wool, giving an NRC of around 0.75, are a cost-effective specification.

Measure RT60 with an impulse response before you touch anything, paying particular attention to the 500Hz to 1kHz band. If it exceeds 1.0 second, treat the ceiling reflection first and only then consider the side walls.
2. A Microphone Is Not a Loudhailer: Placement Beats Volume
Many teachers share a habit: hold the microphone close to the mouth and turn the amplifier all the way up. It feels louder, but it pushes the system to the edge of feedback, leaves the front rows wincing, and the back of the room still cannot hear.
The core of speech reinforcement is the ratio of direct to reverberant sound, not raw sound pressure level. The closer the microphone sits to the mouth, the higher the proportion of direct sound captured, and the lower the gain the system needs to run at, which reduces feedback risk. A handheld microphone, however, ties up the teacher's hands, while lavalier and headset options lose high frequencies when the body blocks the path.
Our experience comes down to this: let the microphone follow the teacher, but do not make the teacher hold it. With an infrared wireless microphone and distributed reception, a teacher can clip a pen-style unit to the chest or wear a headset or lavalier, leaving both hands free. The deciding factor is the receiver layout. Put a single receiver on the podium and the moment the teacher walks to the back of the room, the signal is either blocked by the body or simply too far away.

Keep enough distance between microphone and loudspeaker and use directivity to avoid the feedback path. Choose a system that supports multiple receiver units so pickup quality stays consistent wherever the teacher stands.
3. Replace the Single Receiver With Distributed Ears
Conventional RF wireless systems usually carry one receiving antenna, mounted near the podium. Once the teacher walks to the opposite corner, signal strength can drop by 6dB or more, and with the body in the way the audio reaching the receiver already sounds hollow.
This is where infrared shows its advantage plainly. Infrared cannot pass through walls, so neighbouring classrooms never interfere with each other; within a single room it can achieve full coverage through multiple distributed receivers. In the configurations we commonly deploy, the host connects several external receiver units over RJ45 cable, each providing 360° coverage and more than 20 metres of line-of-sight reception. In an 80 m² classroom, two units placed diagonally will eliminate dead spots. For tiered or long narrow rooms, extend to four units; cable runs of up to 100 metres mean the existing low-voltage trunking can be reused.

Draw a coverage plan based on the room's shape. Mount receivers on the ceiling or high on side walls, clear of the main paths where bodies would block them, and use PoE or standard power over the network cable to avoid extra power runs.
4. Do Not Let Electromagnetic Interference Steal the Clarity
2.4GHz Wi-Fi, Bluetooth, LED driver power supplies, even the microwave in the corridor: all of them compete with an RF wireless microphone for spectrum. We once dealt with a textbook case at a primary school. Every time the water boiler in the corridor switched on, the RF microphone in the classroom produced a buzzing hiss. It took two days of investigation to trace it to an electromagnetic compatibility issue.
Digital infrared operates at 2.06MHz and 2.56MHz, well away from the dense part of everyday electromagnetic noise. More importantly, the infrared signal is naturally contained by walls, doors and windows, so adjacent classrooms can run simultaneously without crosstalk, and the system is unaffected by external radio signals or high-frequency lighting. For a school deploying across many rooms, that means each classroom can be configured independently with no frequency planning at all.
Infrared also produces no radio-frequency radiation. For a teacher wearing a microphone all day, that is a health detail worth noting.

If a school is retrofitting several classrooms at once, choose a system immune to radio interference up front, and avoid the awkward outcome where one room works and the one next door does not.
5. Give Each Teacher Their Own Microphone, Not a Shared One
The traditional approach is one shared microphone per classroom, used by whoever is teaching. In practice, nobody notices when the battery dies, hygiene complaints arrive, capsules get dropped, and the management burden lands on the facilities team.
The one-teacher-one-microphone model turns the microphone into a teacher's personal teaching tool. Each teacher takes their own infrared microphone, whether handheld, pen, headset or lavalier, carries it out at the end of the lesson and drops it onto a charging dock in the staff room. A 3.7V / 900mAh lithium cell carries a full day of lessons. Teachers manage their own charge and hygiene, and facilities only maintain the fixed receivers in each classroom.
There is a quieter acoustic benefit too. A teacher who knows their own microphone's pickup distance and frequency response unconsciously settles into the best speaking position, the system gain stays more stable, and speech clarity is better protected.

Match the form to the subject. Language teachers move around a lot, so a pen or lavalier works better; music and PE teachers demonstrate actions, so a headset or compact handheld is more flexible.
6. Retrofitting an Old Room: Do Not Rush to Replace the Amplifier
When schools plan a sound reinforcement upgrade, the first instinct is often to strip out the whole system. In reality, if the existing amplifier and loudspeakers are in good condition and simply lack a stable front-end pickup and signal processing chain, the back end can stay exactly where it is.
A well-designed infrared receiver should provide a standard line output, 350mV for instance, that connects directly to any third-party power amplifier. The feedback suppressor, equaliser and noise gate built into the receiver clean up the front-end signal before passing it to the existing amplifier and speakers. The advantages of retrofitting this way are a short programme, because no new cabling to the loudspeakers is required; a low cost, because the original investment is retained; and low risk, because if the new system misbehaves the school can switch back to the original source at any time.
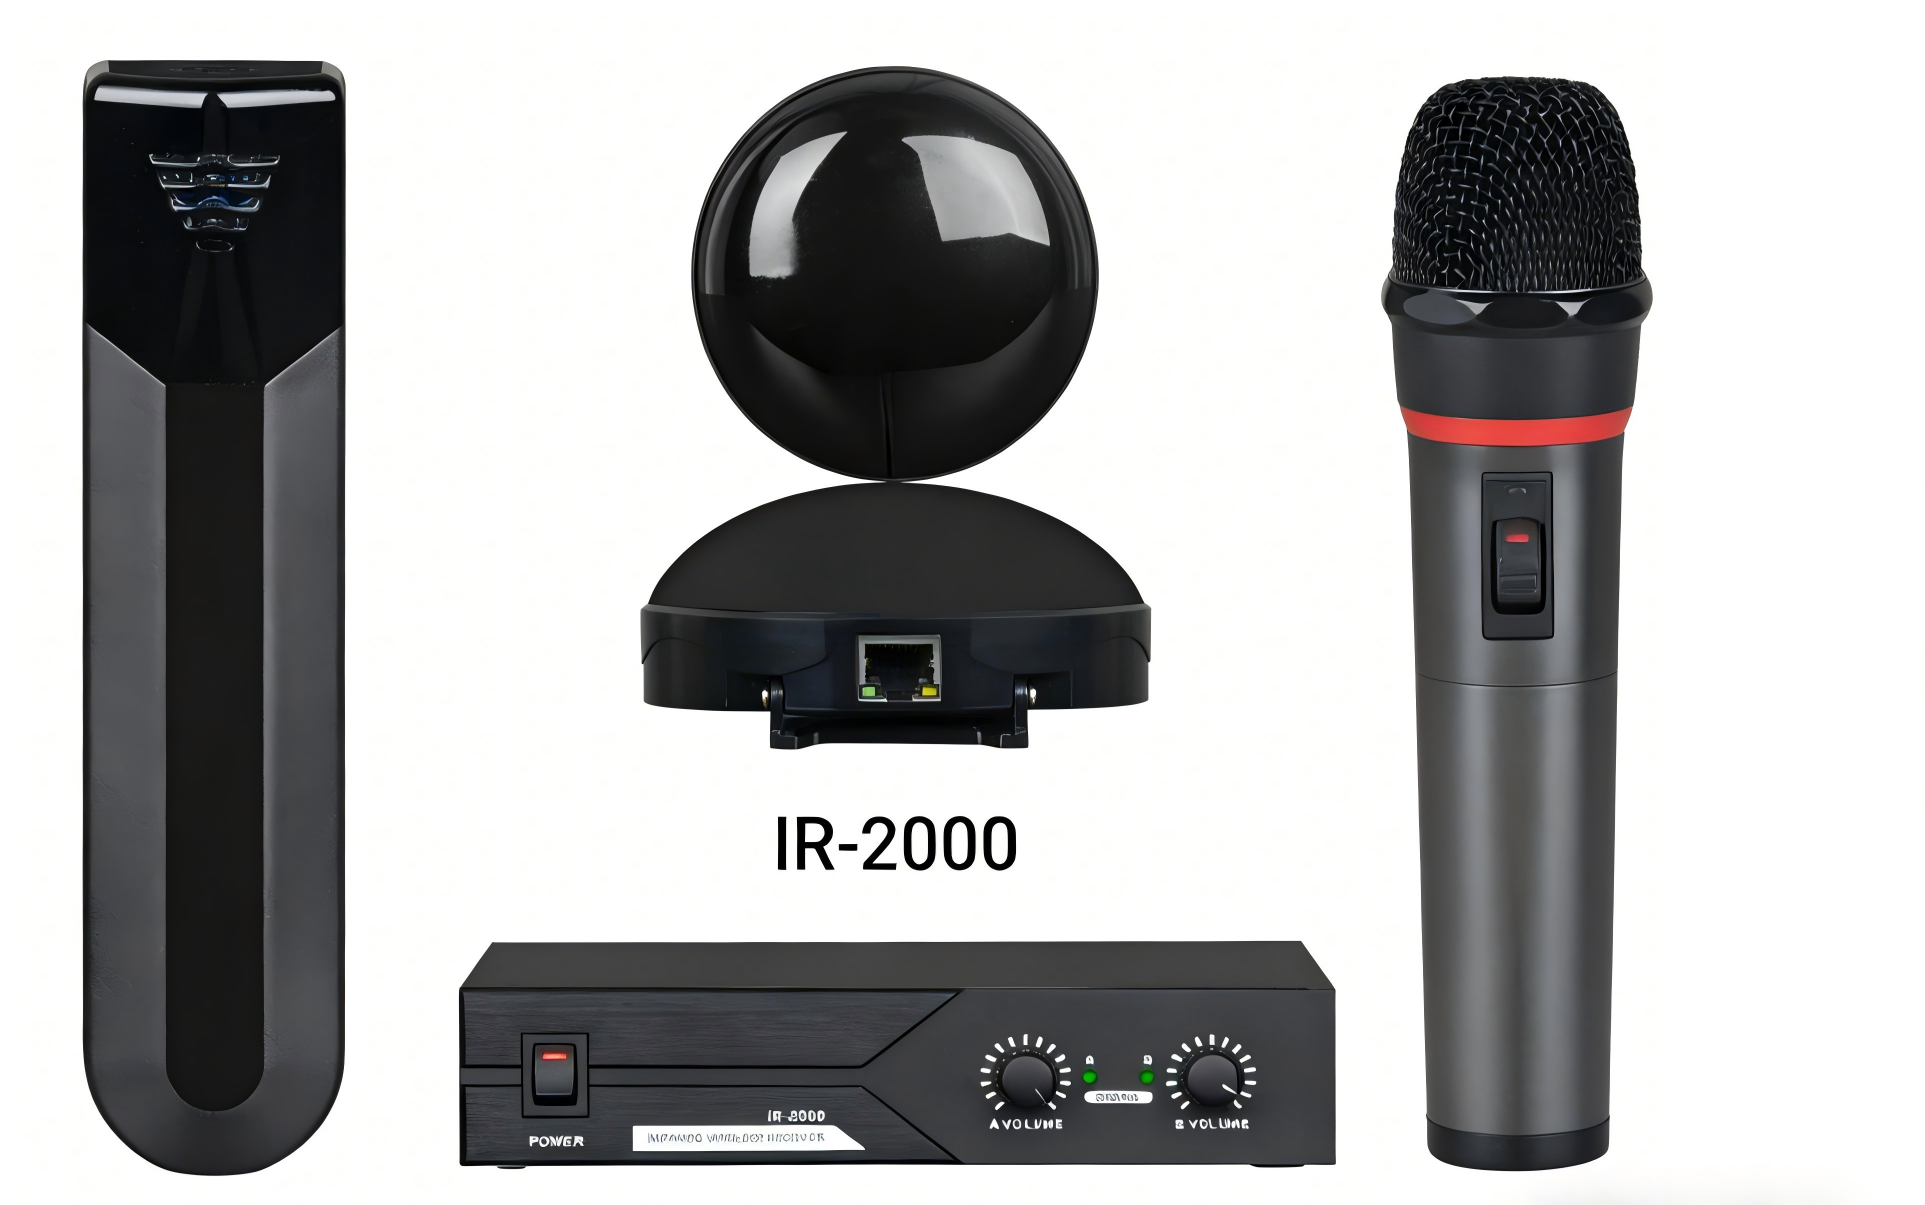
Audit what is already there before designing anything: does the amplifier have headroom left, is speaker coverage even, is the cabling ageing? If the back-end sound field is sound, upgrading only the front-end pickup and processing is usually the most economical route.
Three numbers you can write into the acceptance sheet
Hit those numbers, pair them with a stable and manageable front-end pickup system, and "every corner hears clearly" stops being a slogan and becomes a result you can reproduce.